






♥ Follow Me ♥

♥Free Fonts♥


Monday, August 1, 2011

This is a very special mask I made
to go with a very special kit:
Emolicious by TammyKat Dezigns
All proceeds from this kit through October 31st will go to
"Out of the Darkness" which is a group that brings awareness to suicide.
You can purchase her kit HERE.
If you'd like to read more about this
you can visit Tammy's blog:
Thanks for reading!
♥HUGS!♥

SUPPLIES NEEDED
TUBE OF CHOICE: I used the awesome artwork of
Edward Reed.
You must have a license to use this art.
You can find Edward's art
and get a license HERE.
SCRAPKIT: Ocean Goddess by Designs by Sarah
You can find it HERE.
FONT OF CHOICE: I used Cardinal Alternate.
I used Photoshop for this tut.
♥♥♥♥♥♥♥
Let's have some fun!
Open a new canvas, 700x700.
Transparent background.
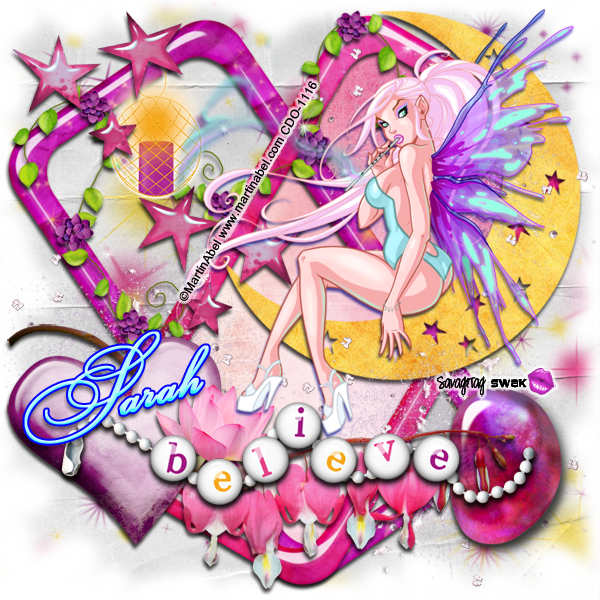
Use my taggie as a guide for placement of elements.
Open pp7.
Center.
Grab a soft edged eraser.
Erase around the edges of your paper.
Use my taggie as a guide for placement of elements.
I used these:
dolphin
anchor
seaweed1, resize to 65%
shell3, flip Horizontally
seaweed3, resize to 75%
Now open your tube.
Resize to fit tag.
Then I used these elements:
jellyfish, resize to 35%
flower2
greenery1, resize to 35%
shell1 & shell4, resize to 35%
gemstones, resize to 50%
frame7, resize to 40%
fish, resize to 40%
Duplicate your fish layer.
Flip this Horizontally.
Now move the duplicated fish layer
down below frame7 layer.
Position this layer so the fish looks
like it's looking at itself in the mirror.
Erase any part of the duplicated fish
that shows on behind frame7.
Open bubbles.
Place over toward left of tag.
I only placed a drop shadow on:
my tube
anchor
shell3
Resize your taggie to your liking.
Make a new layer.
Type your name.
I used 0960af for color.
Stroke, Outside, 3, color dcd7fe.
I also used Bevel and Emboss.
These are settings I used for Bevel & Emboss:

Click Ok.
MOST IMPORTANT!!
You must now do this:
Put the artist's name, website, and your license number
of the tube you used on the siggy!!
Add your name (ie: Designed by Your Name) behind this info.
Make sure this info is legible and clearly seen.
Save as PSD to maintain layers.
Then save as PNG, remembering to use a number behind your sig title.
YOU'RE DONE!!
I hope you had fun with this tut!
♥HUGS!♥
*This tut was created by me, Redneck Tuts by Savage.
Any resemblance to any other is purely coincidental.*
Artist: ©Edward Reed www.edwardreed.com PTE0041
SUPPLIES NEEDED
TUBE OF CHOICE: I used the awesome artwork of
Arthur Crowe.
The tube I used came with a Close Up.
You must have a license to use this art.
You can find his art and get your license HERE.
SCRAPKIT: Free Biker by Rieka Rafita.
This is a PTU kit. You can find it HERE.
FONT OF CHOICE: I used two different ones.
Free Man: BalderLL
Name: BankScrD
MASK: Rieka Mask 6.
You can find it HERE.
I used Photoshop for this tut.
♥♥♥♥♥♥♥
Let's have some fun!
Open a canvas, transparent background, 700x700 pixels.
Open paper 7.
Center on canvas.
Open Rieka Mask 6.
Center.
With this layer highlighted
Grab your magic eraser.
Place the cursor on the black border of the mask.
Click.
Now to go the upper left corner of your Layer Palette.
Click the drop down arrow next to the word Normal.
Select Soft Light.
Your mask should now take on the paper color.
Grab a soft edged eraser.
Highlight the paper layer.
Erase around the edges of the mask.
Open fence.
Place toward top of mask.
Open motorjacket.
Place over to upper left.
Open your regular size tube.
Place this on in front of the motorjacket.
With this layer highlighted,
Go to the upper right corner of your Layer Palette.
Set your Opacity to 75%.
Open your Close Up tube.
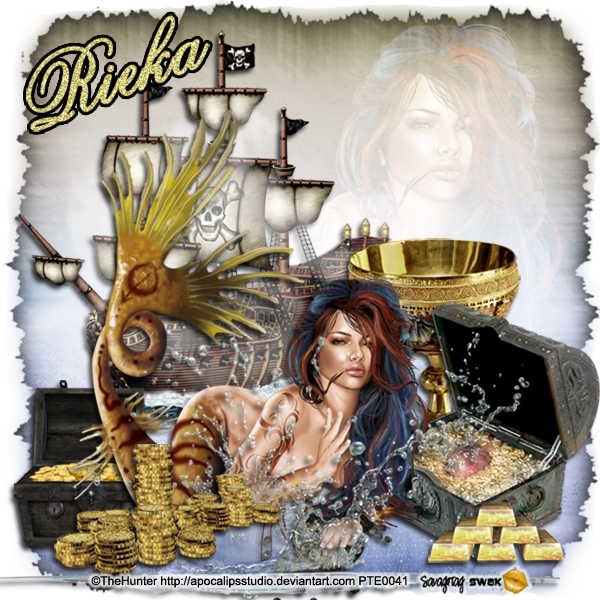
Use my tag as a guide for placement.
These are the elements I used:
motorbike
belt, resize to 50%
ring, resize to 25%
lighter, resize to 50%
cigarette, resize to 50%
dice, resize to 50%
bikerhelmet1, resize to 50%
boots
label2, resize to 50%
Place a drop shadow on everything
except your mask & paper layers.
Resize your siggy to your liking.
Make a new layer on top of all layers.
Using the font of your choice
Type FREE MAN.
I used 7b757c for color
Stroke, Outside, 5, Black
Bevel & Emboss
Drop Shadow
These are the settings I used for Bevel & Emboss

Click OK.
Make another new layer.
Type the name you want in the font you want.
I used Black
Stroke, Outside, 2, color 8a1f1f
Bevel & Emboss
(the same settings as above)
Drop Shadow
MOST IMPORTANT!!
You must now do this:
Put the artist's name, website, and your license number
of the tube you used on the siggy!!
Add your name (ie: Designed by Your Name) behind this info.
Make sure this info is legible and clearly seen.
Save as PSD to maintain layers.
Then save as PNG, remembering to use a number behind your sig title.
YOU'RE DONE!!
I hope you had fun with this tut!
HUGS!
*This tut was created by me, Redneck Tuts by Savage.
Any resemblance to any other is purely coincidental.*
Artist: ©Arthur Crowe www.clarkdark.deviantart.com PTE0041
Subscribe to:
Posts
(Atom)
About Me
- Savage
- Hi Ya'll! I'm Savage and I'd like to welcome you to Redneck Tuts. These are not your ordinary tuts, as they are geared toward those of us that don't have "working knowledge" of Photoshop or PSP. My tuts are all done in PS. They are designed to show you different techniques that you may not know. I hope you learn something that you can use in your creations in the future. Please, just have fun and put your own spin on these tuts. Be original and shine! Love Ya! ♥


