


♥ Follow Me ♥

♥Free Fonts♥


Tuesday, August 16, 2011
SUPPLIES NEEDED
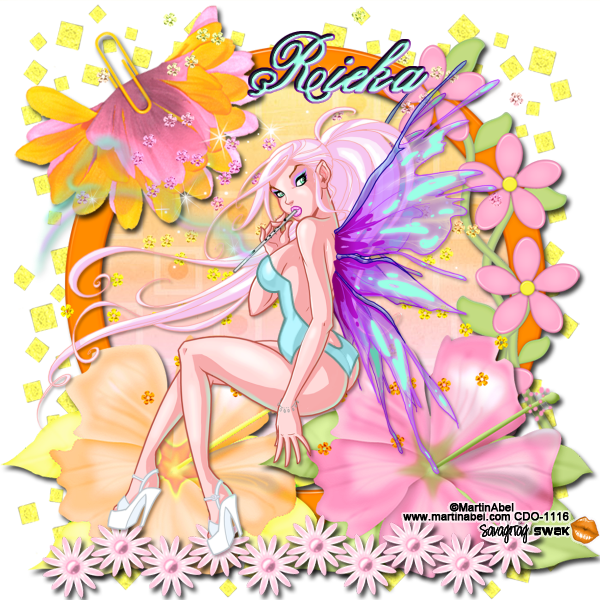
TUBE OF CHOICE: I used the fantastic artwork of
Martin Abel.
You must have a license to use this art.
You can find his art and get your license HERE.
SCRAPKIT: Breath of Freshness by Rieka Rafita.
This is a PTU kit. You can find it HERE.
FONT OF CHOICE: I used Belphebe
I used Photoshop for this tut.
♥♥♥♥♥♥♥
Let's have some fun!
Open a canvas, transparent background, 700x700 pixels.
Open paper 10.
Center on canvas.
Open frame 2.
Center.
Open frame 4.
Center on canvas.
With this layer highlighted
Grab your magic wand.
Click inside the frame.
Highlight your paper 10 layer.
Go to Select in your tool bar.
Click Inverse.
Hit the Delete key on your keyboard.
Go back to Select.
Choose Deselect.
Use my tag as a guide for placement of elements.
These are the elements I used:
ClippedFlower, resize to 75%
Flower3 & 4
FlowerChain
FlowerSprinkle
Sparkle
Duplicate this layer.
This will make the sparkles brighter.
I resized my siggy at this point
to make my tube appear bigger.
Open your tube.
Place to your liking.
Place a drop shadow on everything except:
paper
frame 2
FlowerSprinkle
sparkle
If you haven't already,
Resize your siggy now to your liking.
Make a new layer on top of all layers.
I used color: 9bffe6
Stroke, Outside, 2, color 730d94
I also added Bevel & Emboss.
These are the settings I used.

Click OK.
MOST IMPORTANT!!
You must now do this:
Put the artist's name, website, and your license number
of the tube you used on the siggy!!
Add your name (ie: Designed by Your Name) behind this info.
Make sure this info is legible and clearly seen.
Save as PSD to maintain layers.
Then save as PNG, remembering to use a number behind your sig title.
YOU'RE DONE!!
I hope you had fun with this tut!
HUGS!
*This tut was created by me, Redneck Tuts by Savage.
Any resemblance to any other is purely coincidental.*
Artist: ©Martin Abel www.martinabel.com CDO-1116
Subscribe to:
Post Comments
(Atom)
About Me

- Savage
- Hi Ya'll! I'm Savage and I'd like to welcome you to Redneck Tuts. These are not your ordinary tuts, as they are geared toward those of us that don't have "working knowledge" of Photoshop or PSP. My tuts are all done in PS. They are designed to show you different techniques that you may not know. I hope you learn something that you can use in your creations in the future. Please, just have fun and put your own spin on these tuts. Be original and shine! Love Ya! ♥


0 comments:
Post a Comment