


♥ Follow Me ♥

♥Free Fonts♥


Saturday, August 13, 2011
SUPPLIES NEEDED
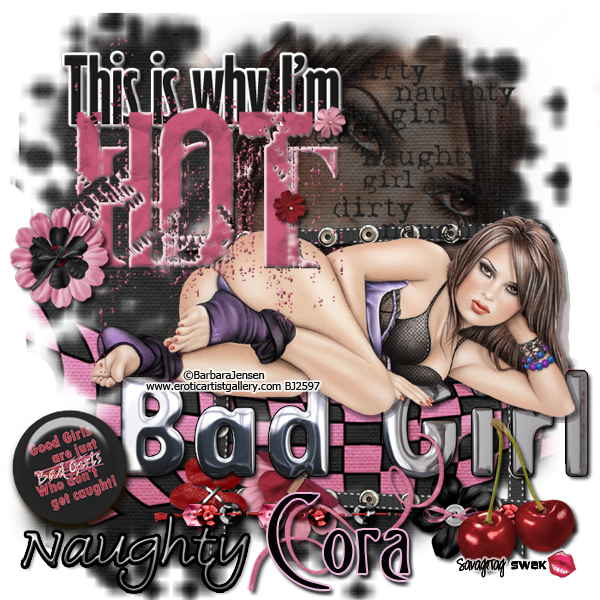
TUBE OF CHOICE: I used the awesome artwork of
Zlata_M.
You must have a license to use this art.
You can find Zlata's art
and get a license HERE.
SCRAPKIT: Girls of PMTWS Collab
by Pimp'd Designz.
This is a PTU kit.
You can find it HERE.
FONT OF CHOICE: I used CygnetRound.
♥♥♥♥♥♥♥
Let's have some fun!
Open a new canvas, 700x700.
Transparent background.
Use my taggie as a guide for placement of elements.
Open print01.
Flip Horizontally.
Place toward right of siggy.
Open wa01.
Resize to 70%.
Place at top of siggy.
Open doodleBIG.
Resize to 75%.
Place toward left of canvas.
Open music notes.
Place toward top of canvas.
Open lace.
Resize to 80%.
Place at bottom of tag.
Open your tube.
Position her where you like.
Resize to fit your tag.
Use my tag as a guide for placement of these elements:
Behind my tube I used these elements:
laptop, resize to 75%
Flip this Horizontally.
controller, resize to 25%
television vintage, resize to 80%
mp3, resize to 20%
and
doodle02, resize to 25%
Duplicate this layer twice.
Right Click in the Layer Palette
while the doodle02 layer is highlighted.
Choose Merge Down.
Repeat until all three layers are one.
Place on television vintage screen.
On top of my tube
I used these elements:
journal book, resize to 25%
pencil, resize to 25%
popcorn, resize to 35%
Place a drop shadow on all layers.
I did not use drop shadow on:
lace
doodle02
print01
Resize your tag to your liking.
Make two new layers.
I used the fonts:
Computerfont
Cult LET
Type Chill on each new layer
using the different fonts.
I used Black.
Stroke, Outside, 3, color ded9d9.
Use my tag as a guide for placement.
Make a new layer.
Type your name.
I used the same Stroke as the words Chill.
MOST IMPORTANT!!
You must now do this:
Put the artist's name, website, and your license number
of the tube you used on the siggy!!
Add your name (ie: Designed by Your Name) behind this info.
Make sure this info is legible and clearly seen.
Save as PSD to maintain layers.
Then save as PNG, remembering to use a number behind your sig title.
YOU'RE DONE!!
I hope you had fun with this tut!
♥HUGS!♥
*This tut was created by me, Redneck Tuts by Savage.
Any resemblance to any other is purely coincidental.*
Artist: ©Zlata_M www.picsfordesign.com PFD_Savage
Subscribe to:
Post Comments
(Atom)
About Me

- Savage
- Hi Ya'll! I'm Savage and I'd like to welcome you to Redneck Tuts. These are not your ordinary tuts, as they are geared toward those of us that don't have "working knowledge" of Photoshop or PSP. My tuts are all done in PS. They are designed to show you different techniques that you may not know. I hope you learn something that you can use in your creations in the future. Please, just have fun and put your own spin on these tuts. Be original and shine! Love Ya! ♥


0 comments:
Post a Comment